How to Varnish an Acrylic Painting
Wondering how to varnish an acrylic painting? In this blog post, you’ll learn how to use varnish to keep your paintings safe from dust, debris, and light damage over time! This is my favorite way to seal an acrylic painting, and it’s actually quite simple to do. So without further ado, let’s dive into learning how to apply varnish to a finished painting.
Supplies:
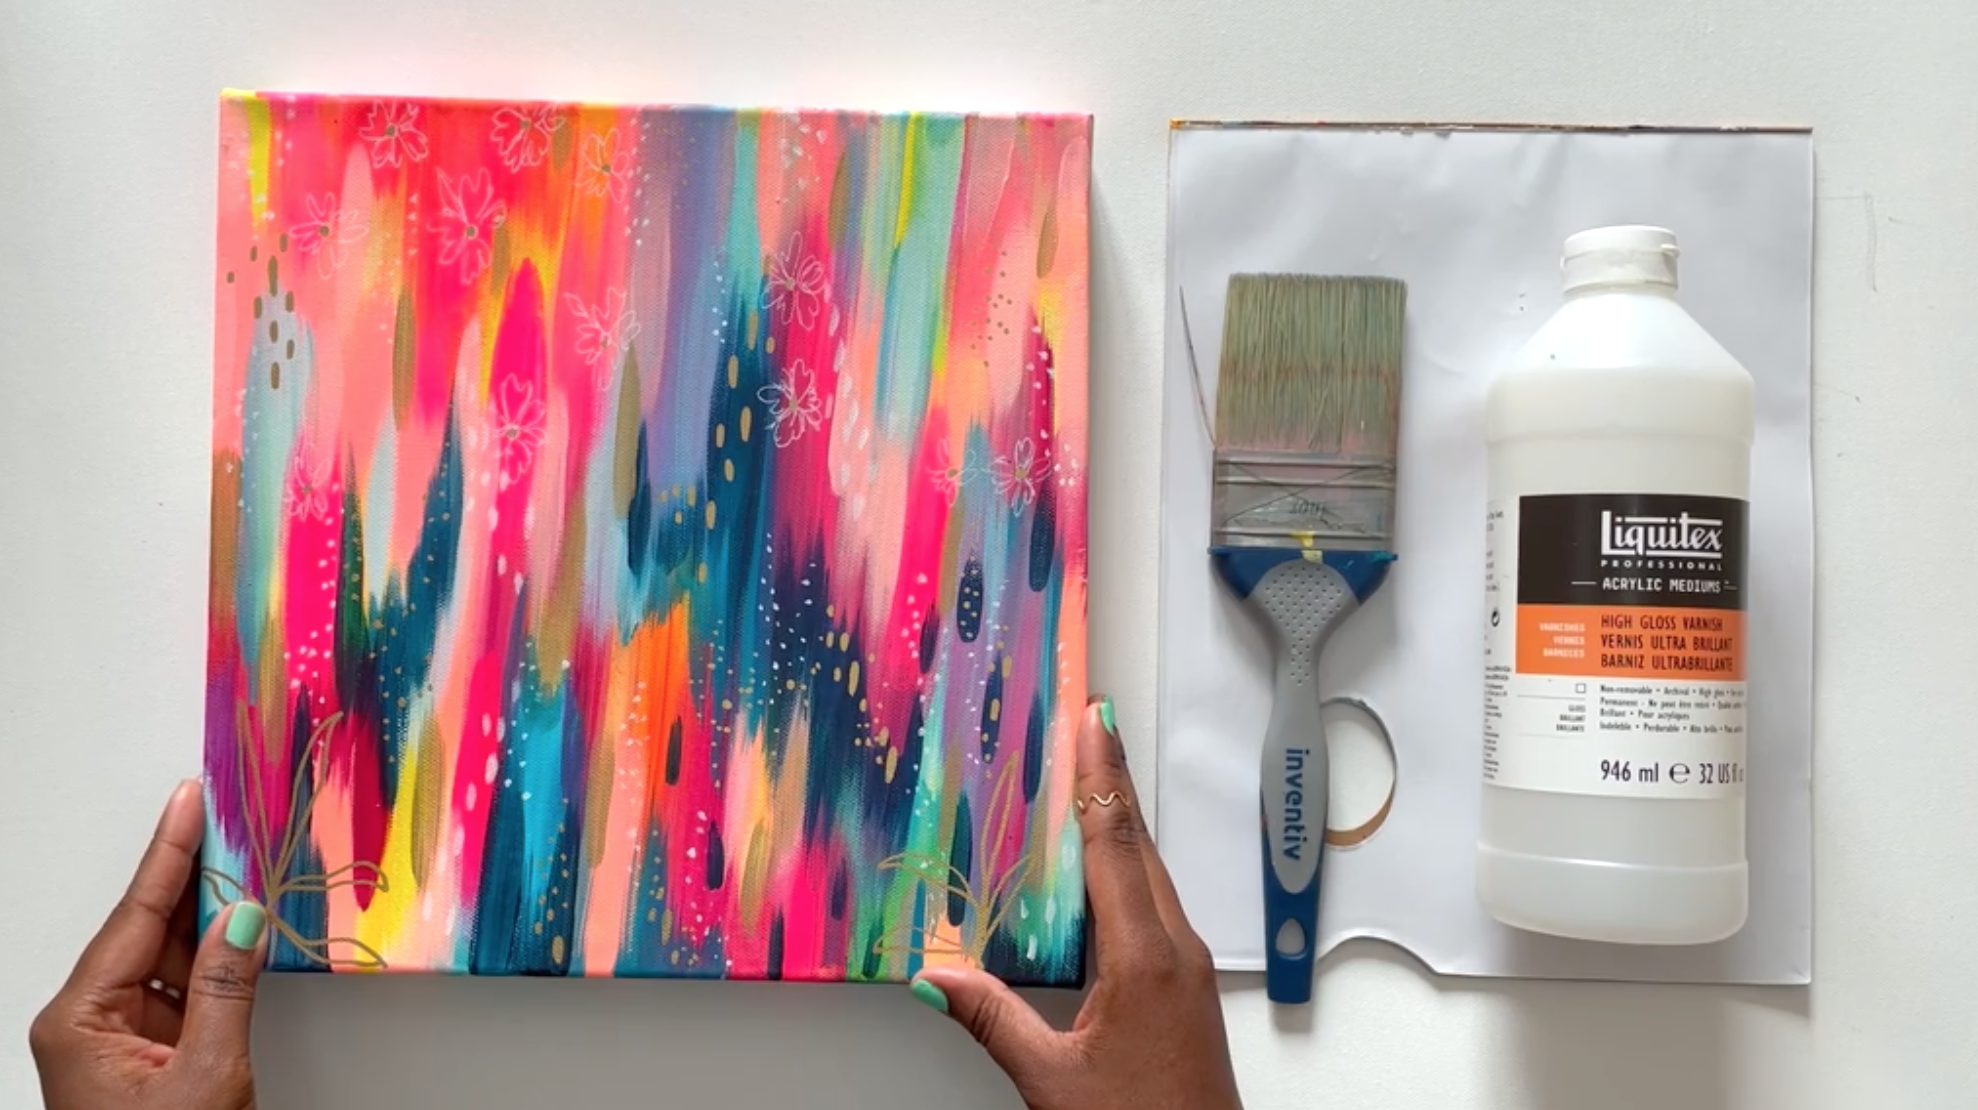
Varnish
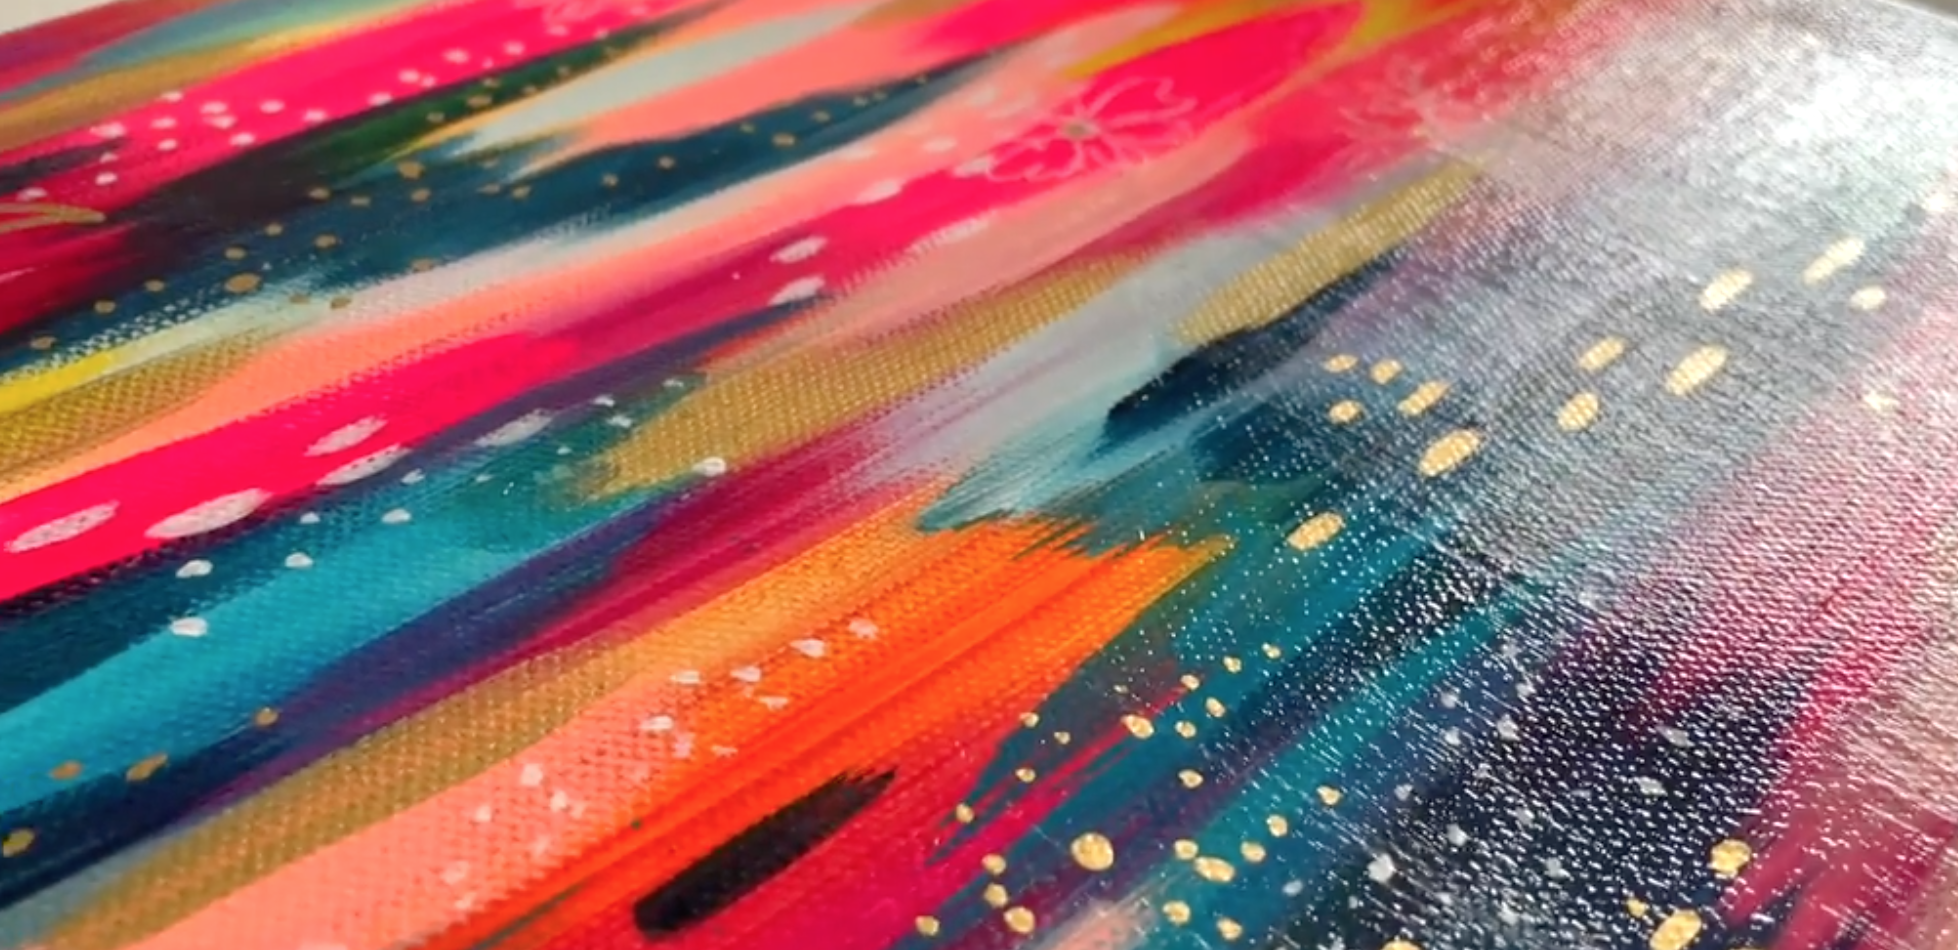
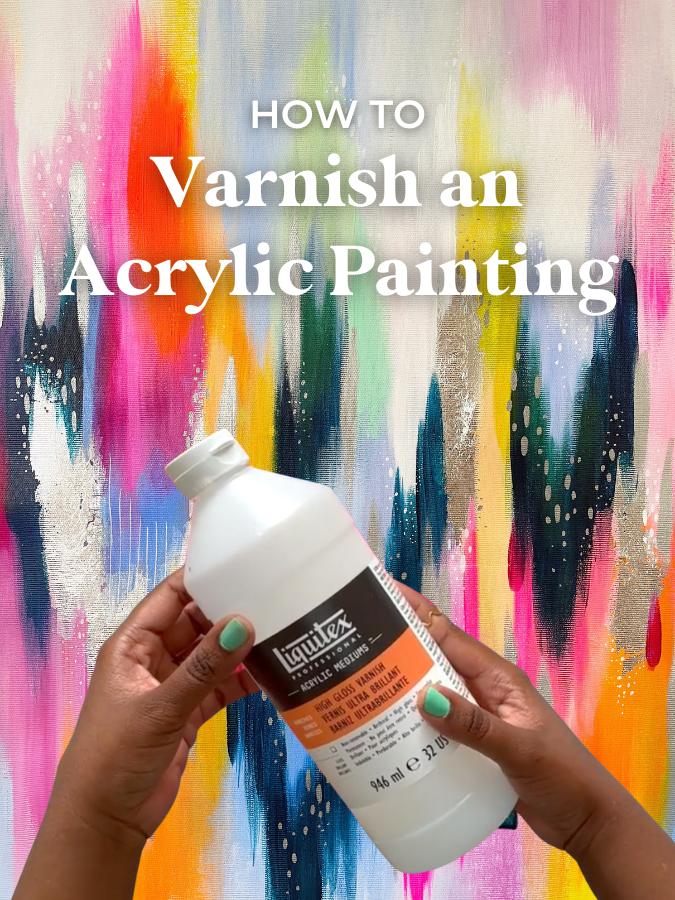
My favorite varnish to use is the Liquitex High Gloss Varnish. I love that it gives my paintings a shiny, finished look and it also helps make the colors of the painting brighter and more vibrant.
Brush
I like to use a large, flat, commercial painting brush for varnishing. This allows me to get a lot of coverage, and the bristles are sturdy enough that I know there won’t be any falling out as I’m varnishing a piece. I don’t have a specific brand I use for this, but if you look for a sturdy yet flexible flat brush you should be good to go!
Palette
When I’m varnishing I use a disposable paper palette like this one. This allows for easy cleanup since varnish can be tough to clean if you’re using a reusable palette.
Overview:
The varnishing process is actually quite simple. You want to apply two layers of varnish. One that is vertical, and one that is horizontal. This ensures that you cover every spot on your painting without applying too much varnish. Too much varnish can result in cloudy spots on your painting. So the key here is to get good, smooth coverage without going overboard!
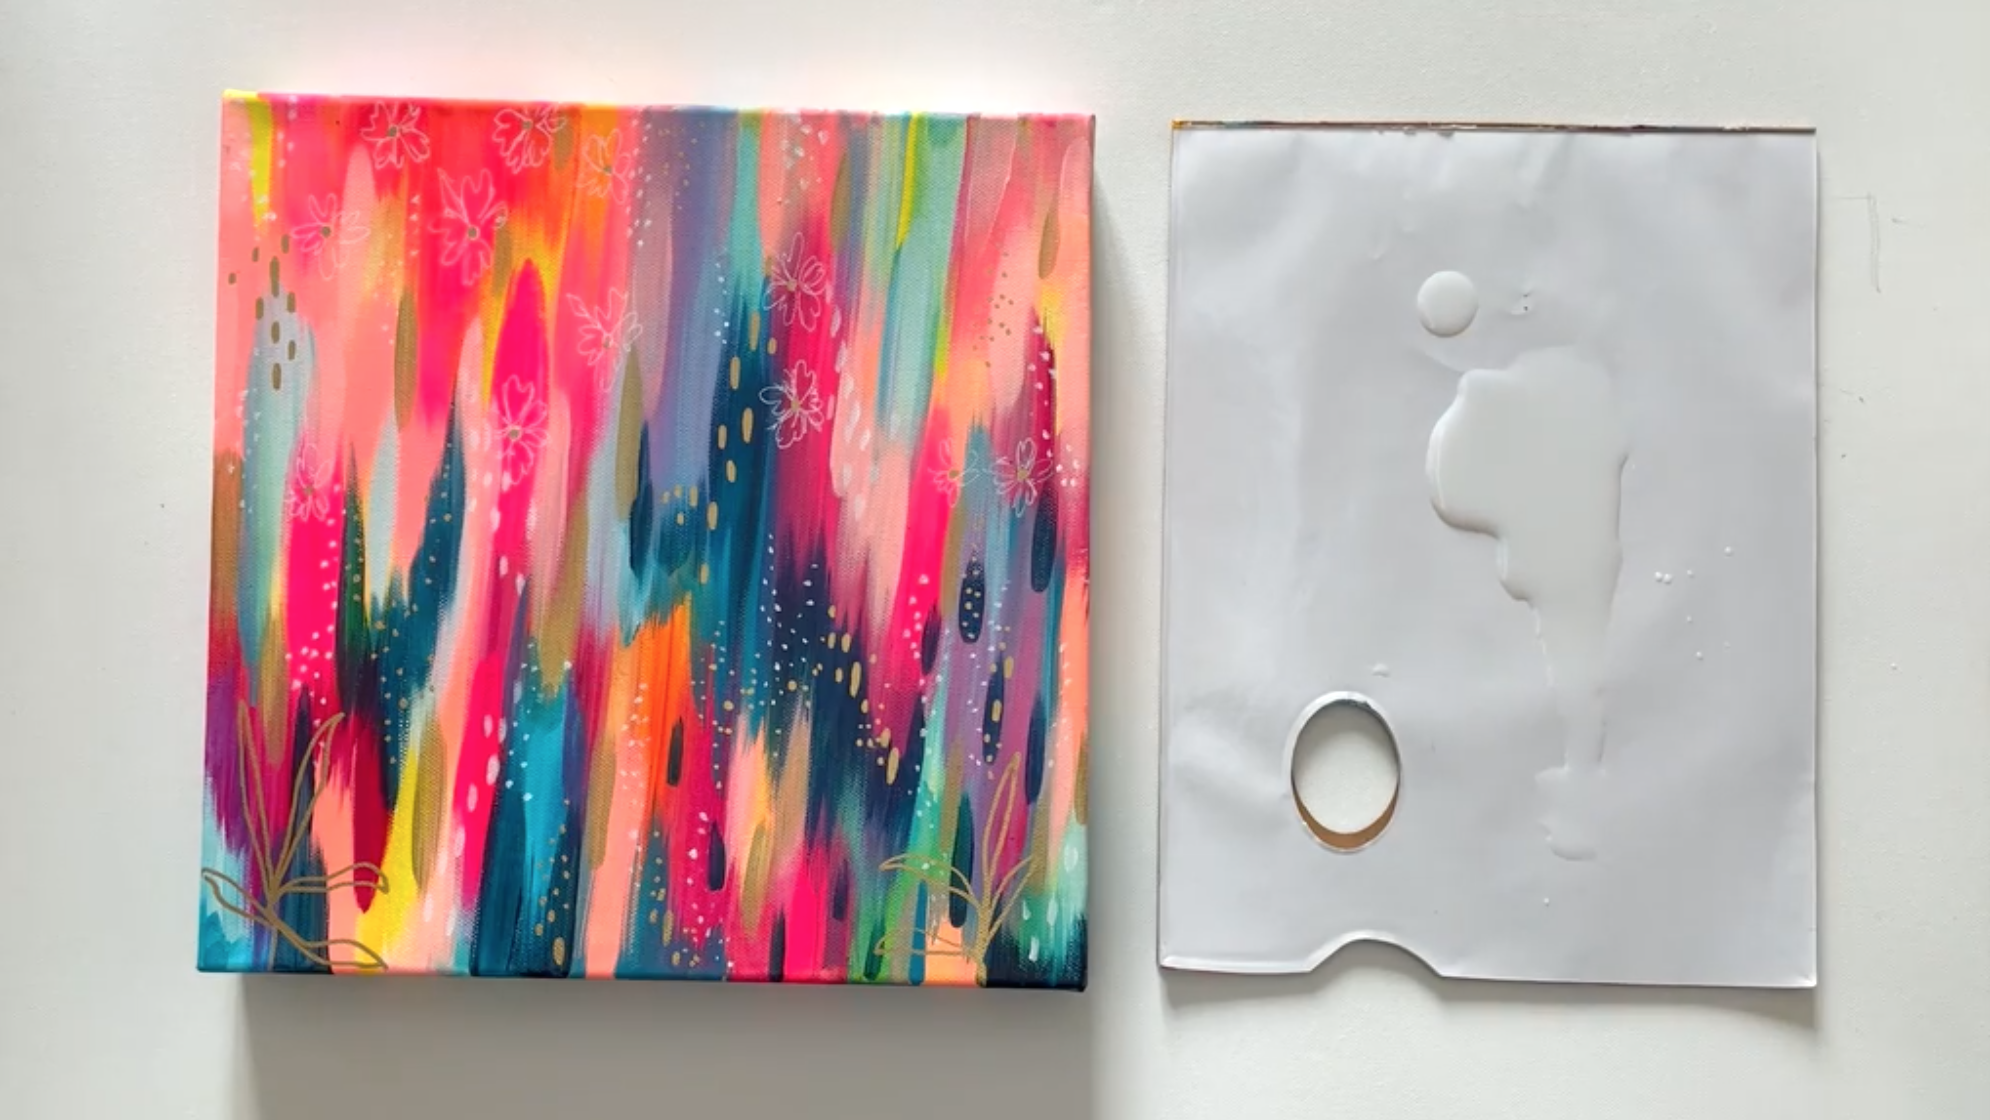
Step 1: Pour some varnish on your palette
Start by pouring a good amount of varnish onto your palette. Remember that we’re just applying two thin layers, so keep that in mind as you’re choosing how much varnish to put on your palette.
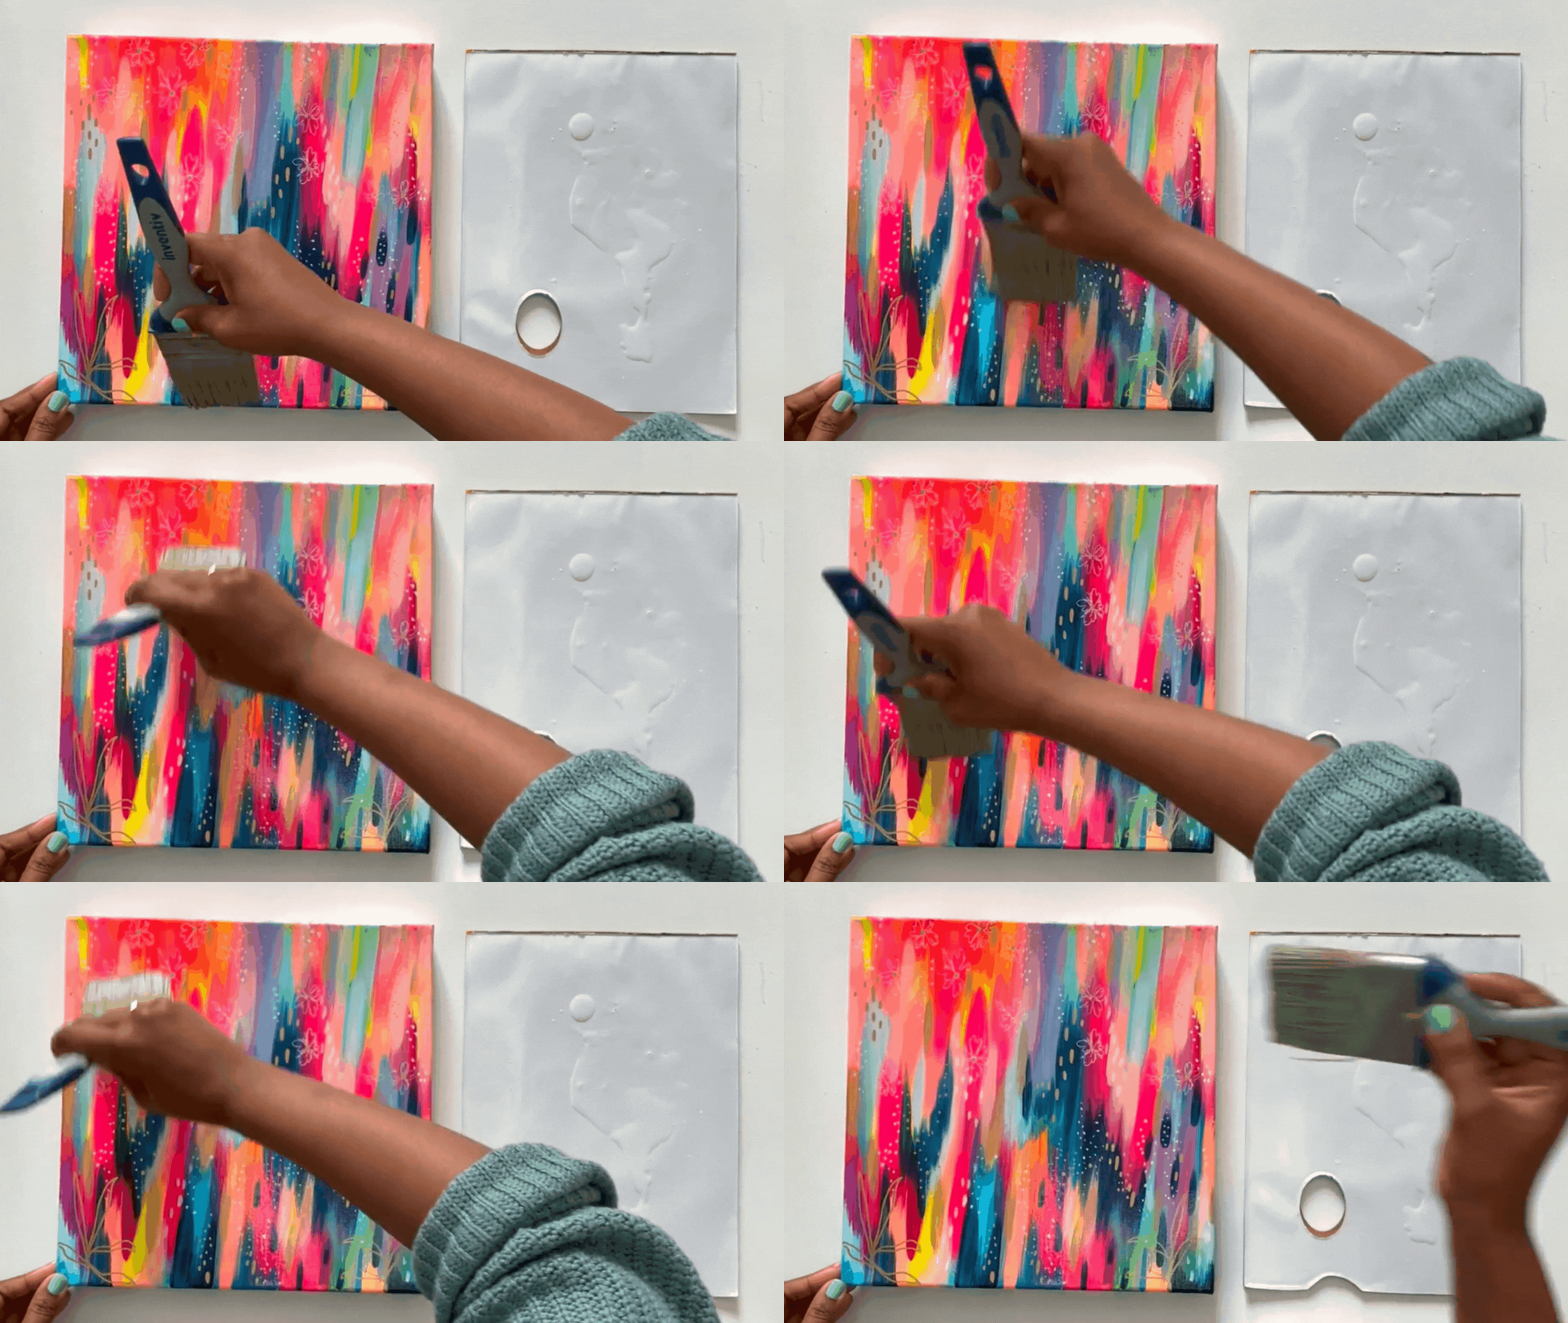
Step 2: First Coat
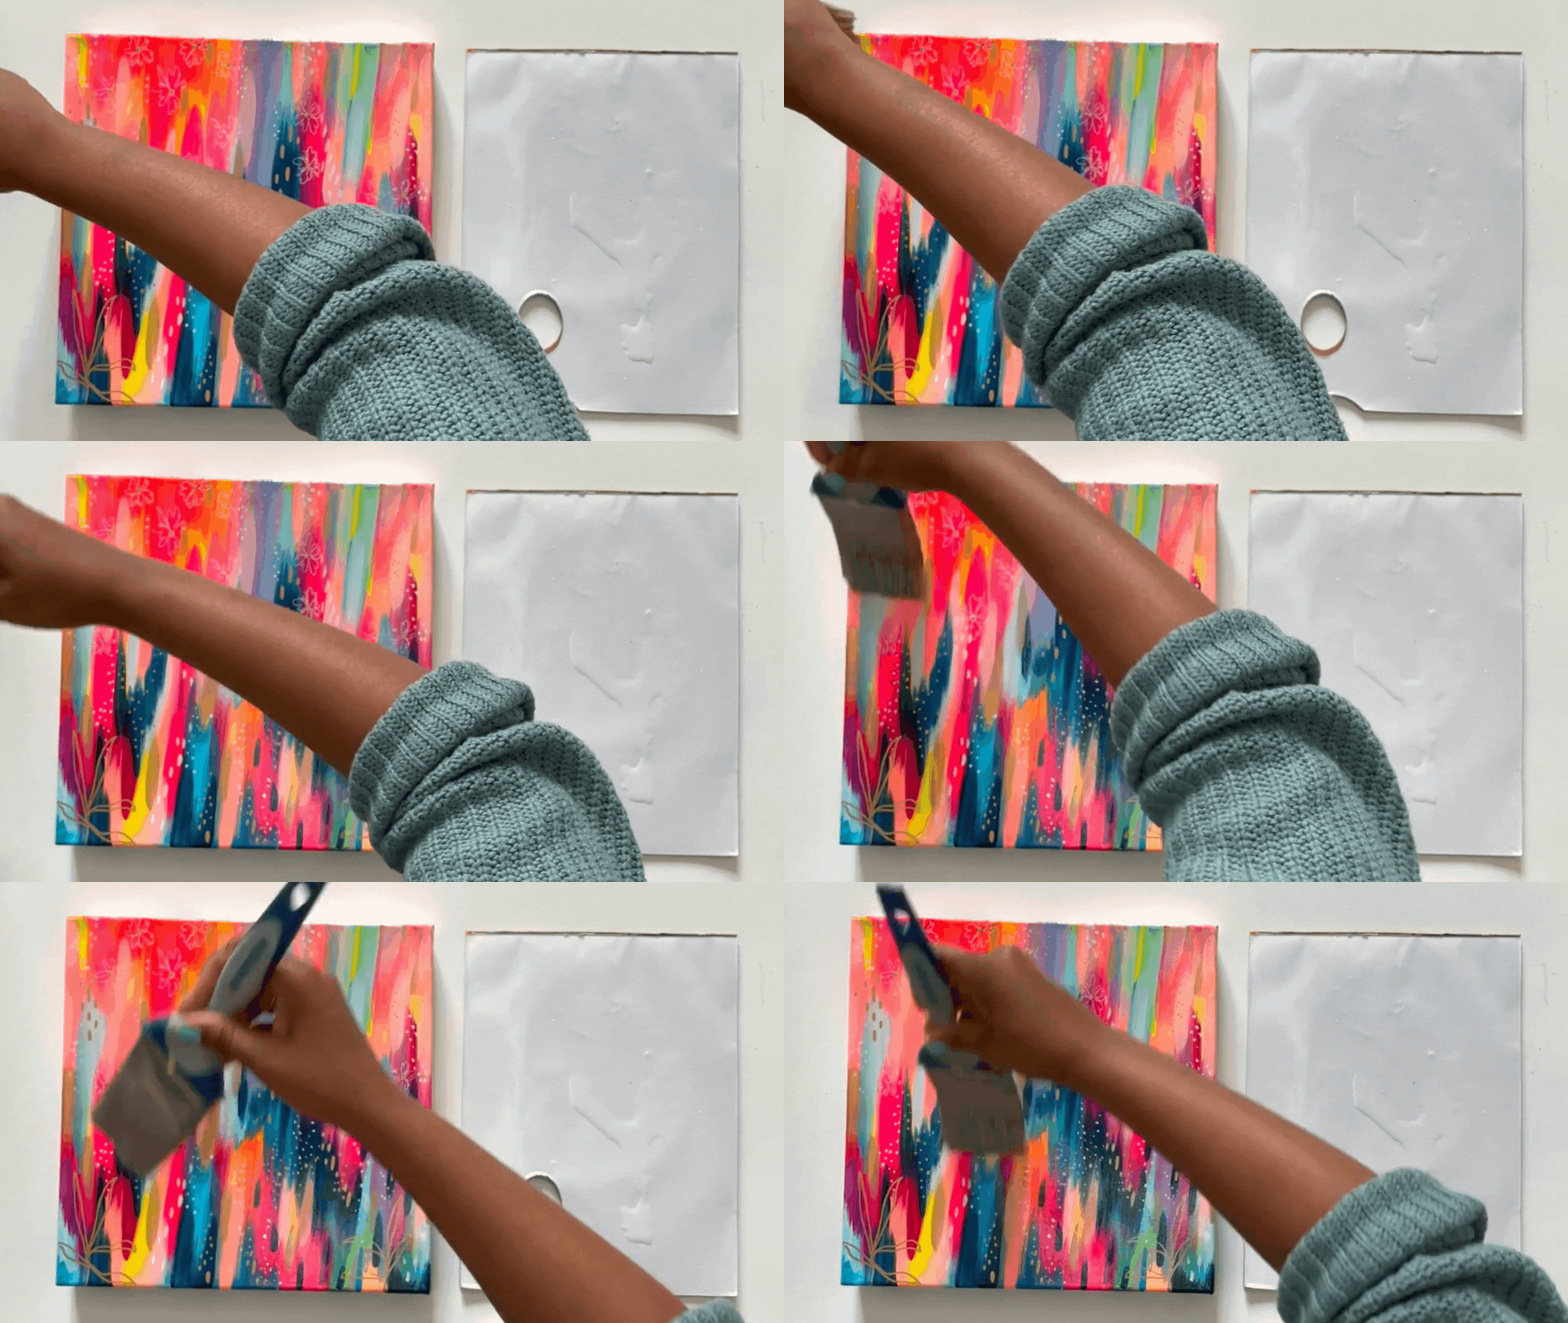
Now it’s time for the first coat! Fill your brush and start to apply this coat vertically. The goal is to make the layer as thin and even as possible. Keep an eye out for any areas that are pooling and smooth them out so that your first layer is even across the canvas.
If you painted the sides of your canvas you can apply varnish there as well, just make sure that you create a smooth transition between the varnish on the sides and the varnish on the front of the piece.
IMPORTANT: Before moving on to the second coat, make sure that your first layer is completely dry!
Step 3: Second Coat
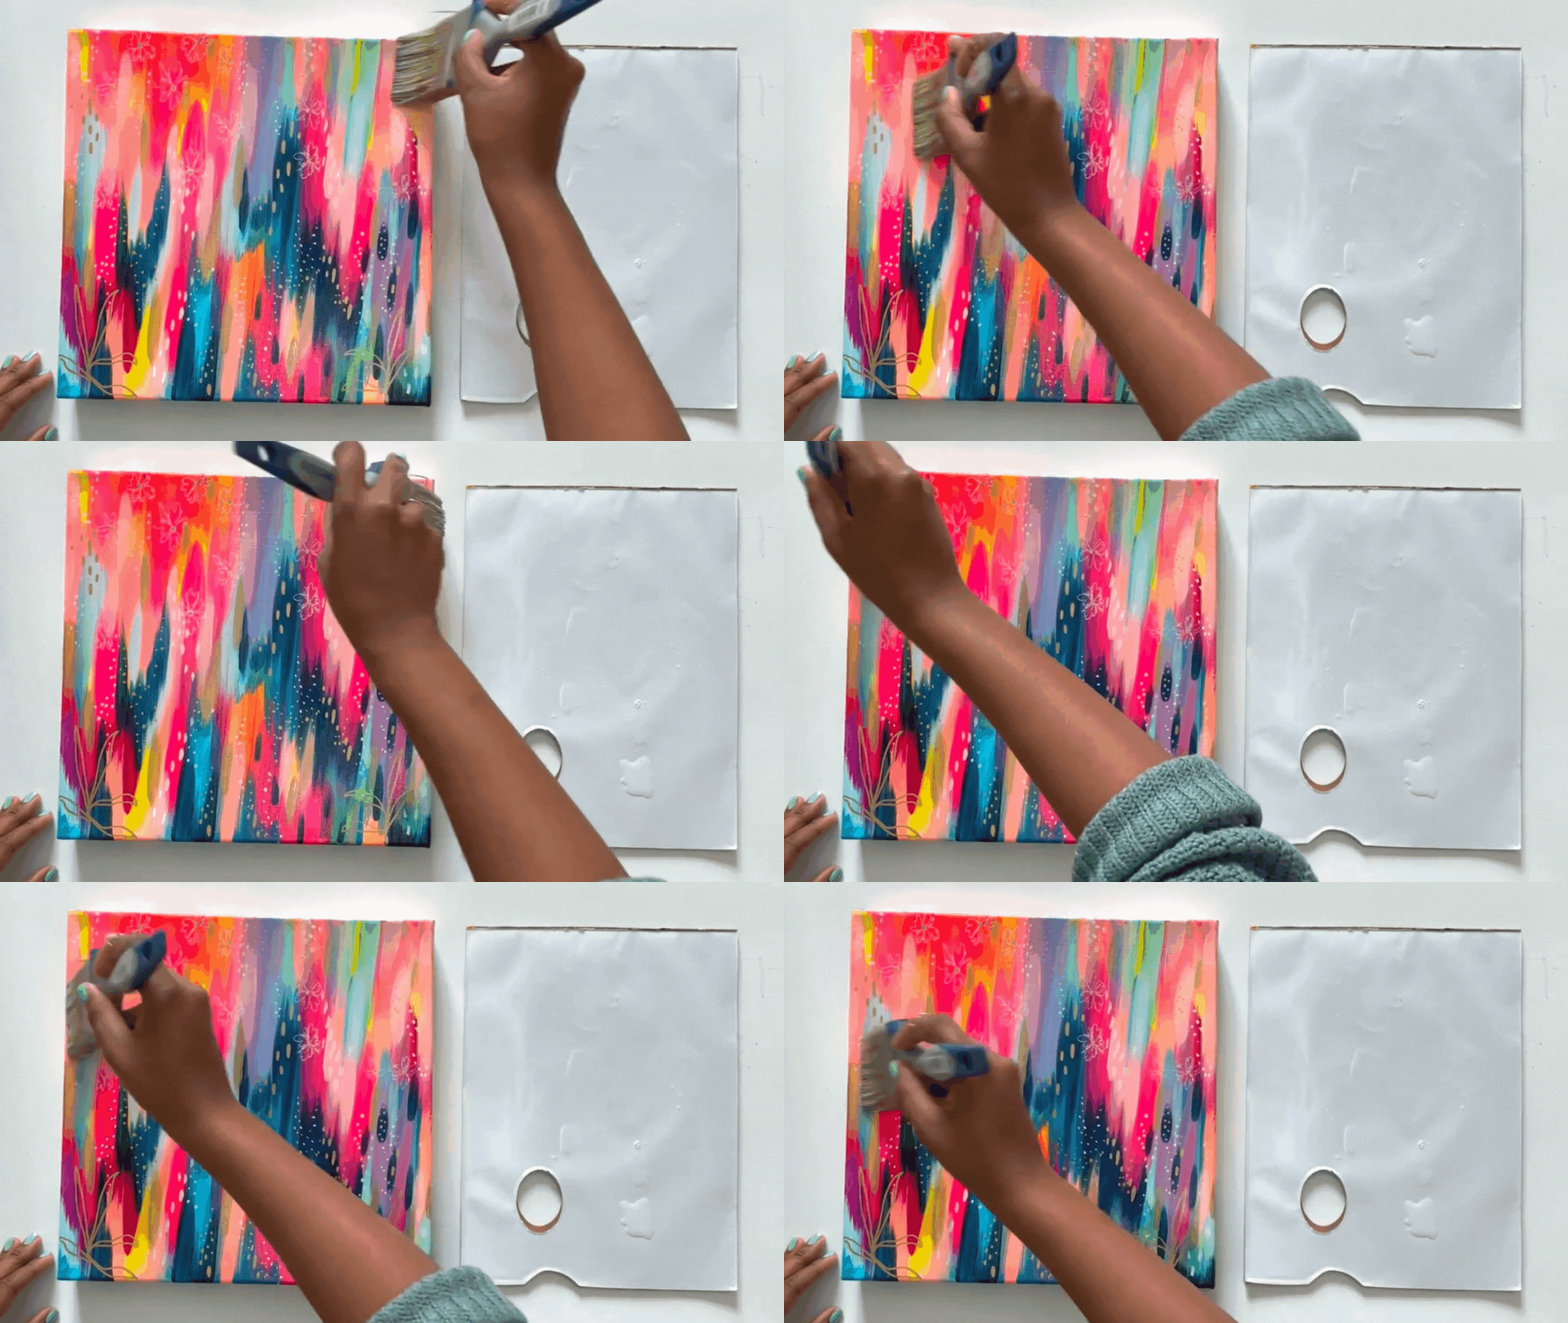
Once your first coat is completely dry you can move on to painting the second coat. I make sure to apply this coat horizontally so that I don’t miss any spots and the whole piece gets an even coat of varnish.
Just like with the first layer, the key is to get a thin and even application across the canvas including the sides.
Once your second layer is dry, your piece is all finished! I told you it would be a simple process!
Now all you need to do is clean your brush thoroughly and make sure to get all the varnish out. Then your brush will be clean and ready to use the next time you need to varnish a painting!
Want to learn how to make a vibrant acrylic painting like the one shown in this tutorial?
Join me in my Skillshare class, Joyful Abstracts with Acrylic Painting. The class teaches my step-by-step process for creating colorful abstract paintings including color mixing, brushstroke technique, composition, and more!
It’s a fun, hands-on class, and the best part is that if you’re new to Skillshare you can get a one-month free trial to check out the class and thousands of other creative classes with this link!
I hope to see you in the class!
xo, Jessi
Pin this post for later! 📌
Hover or tap on this image and click the “Save” button on the top left!

